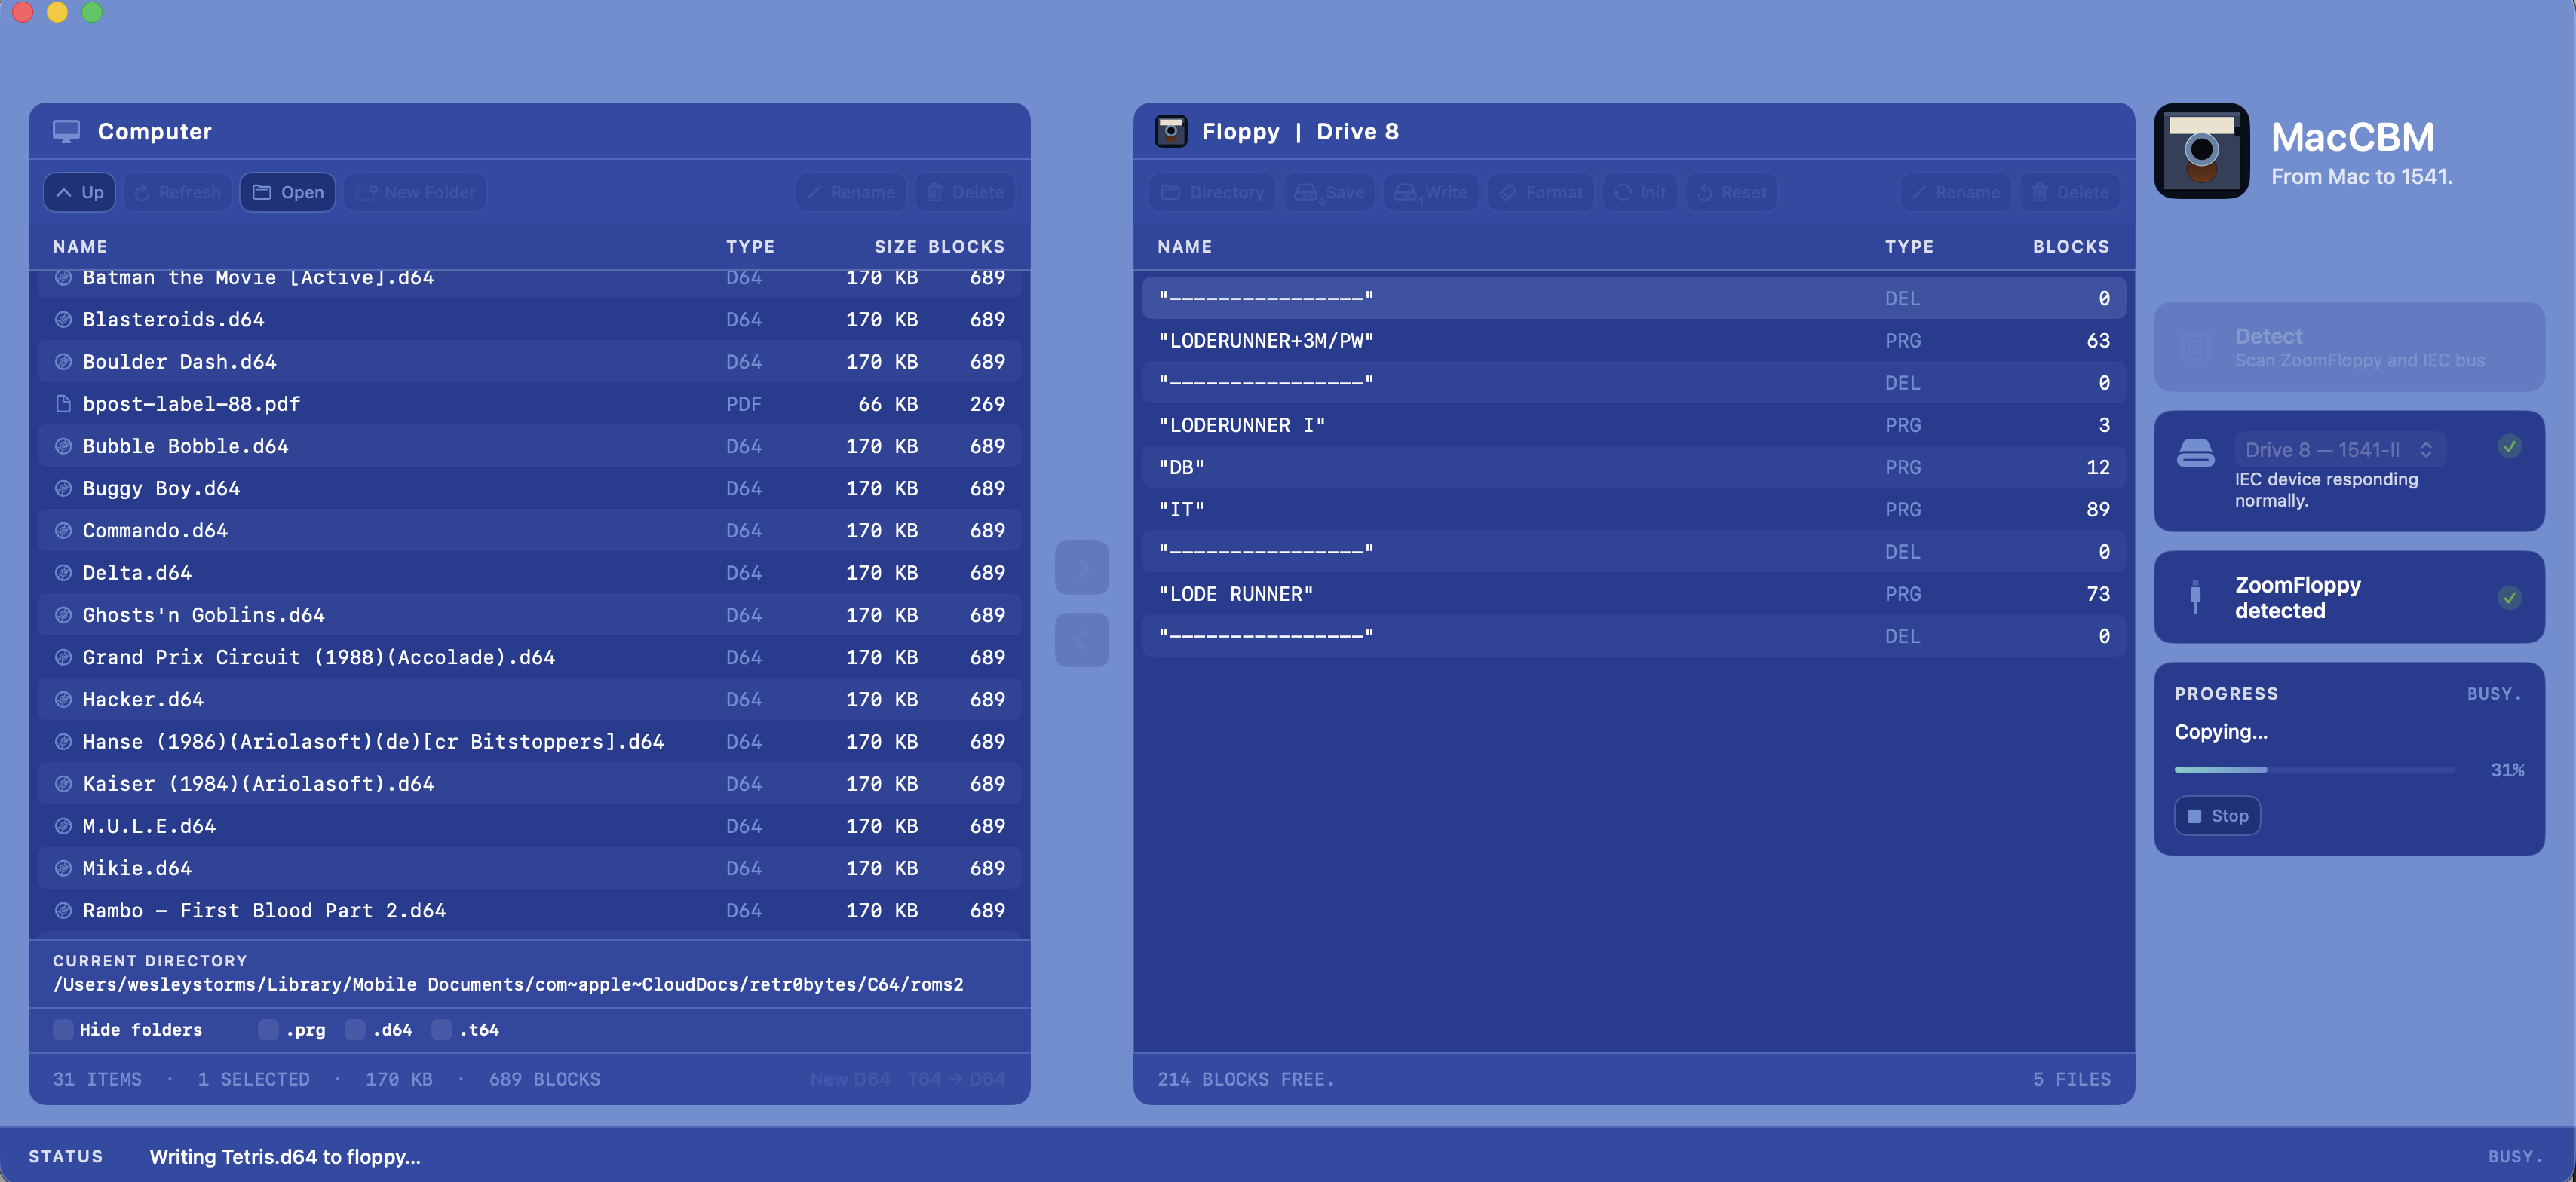
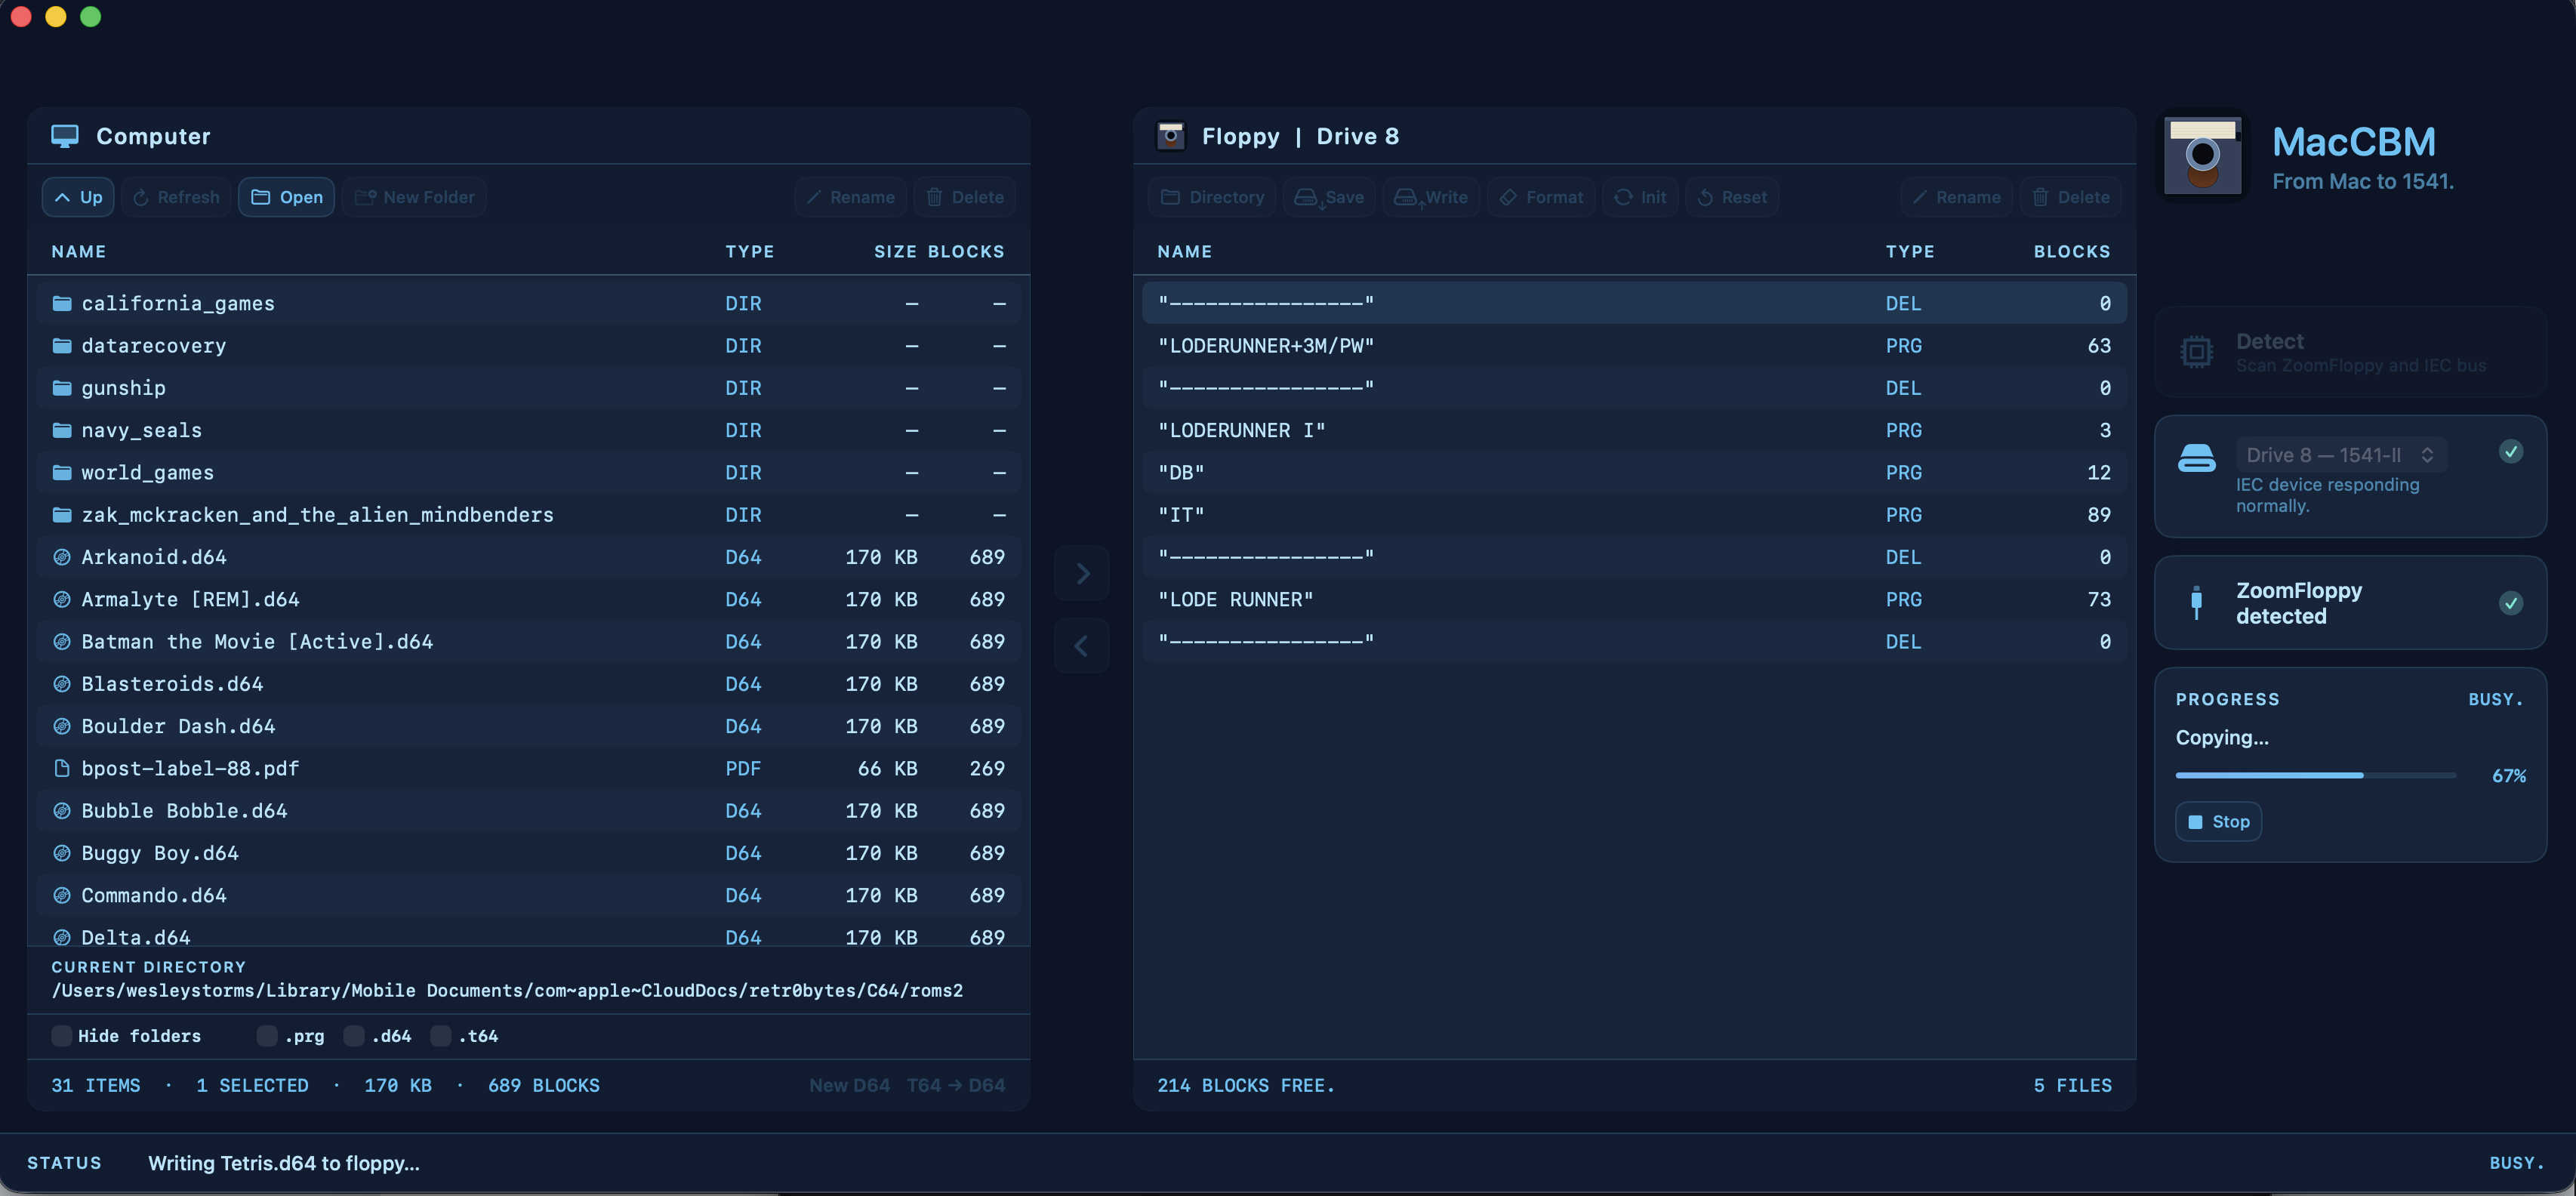
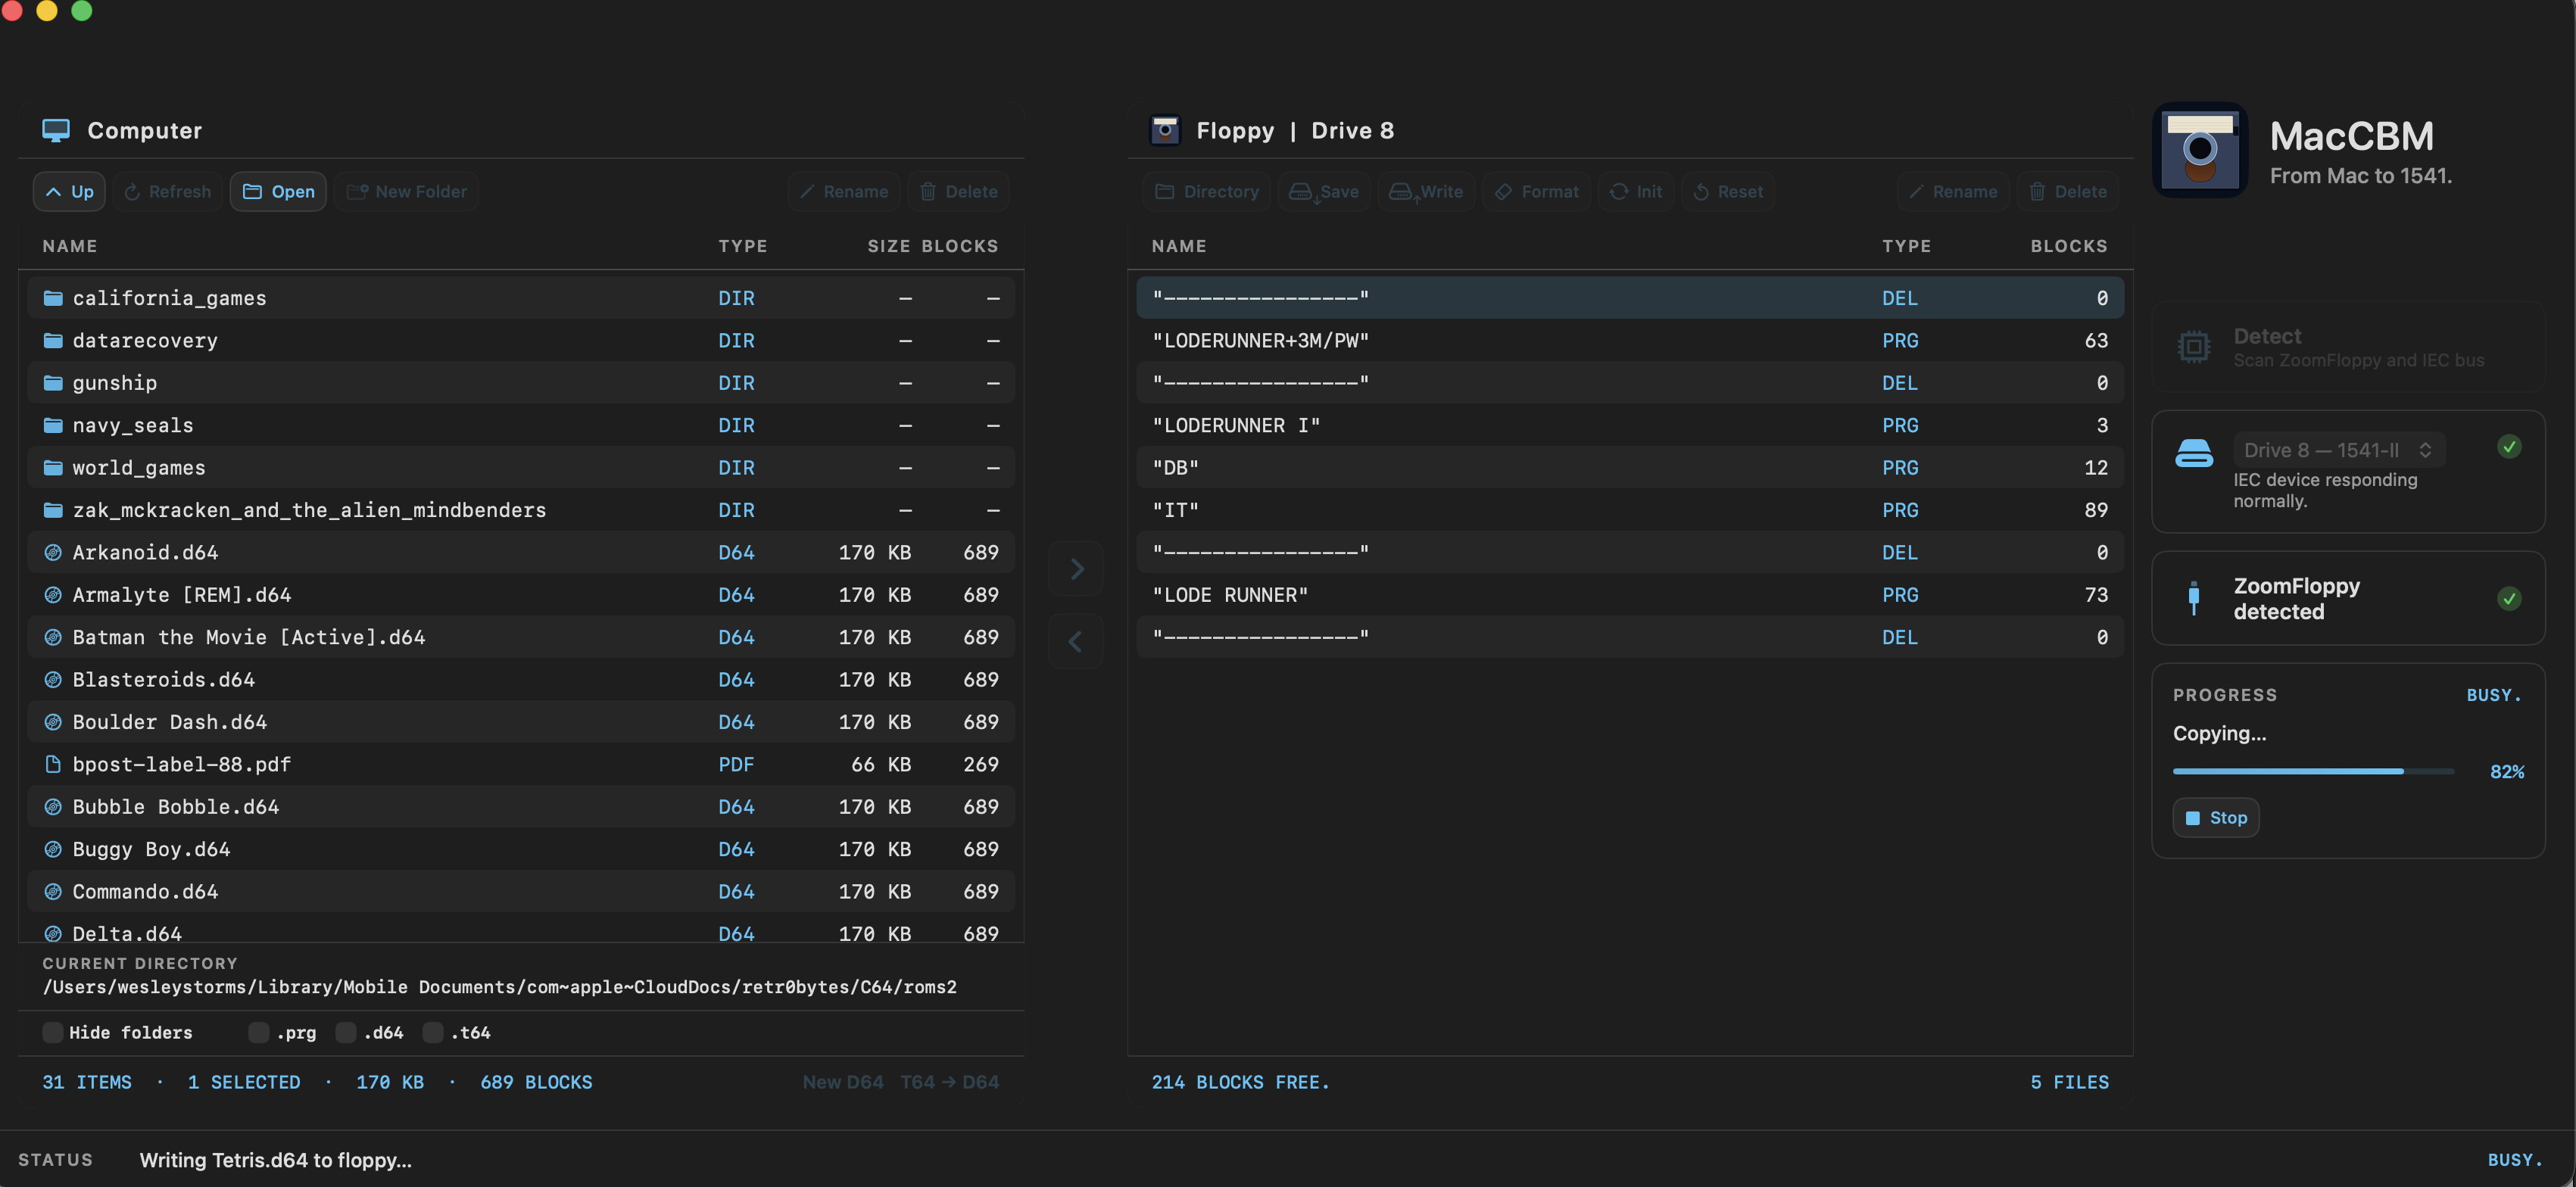
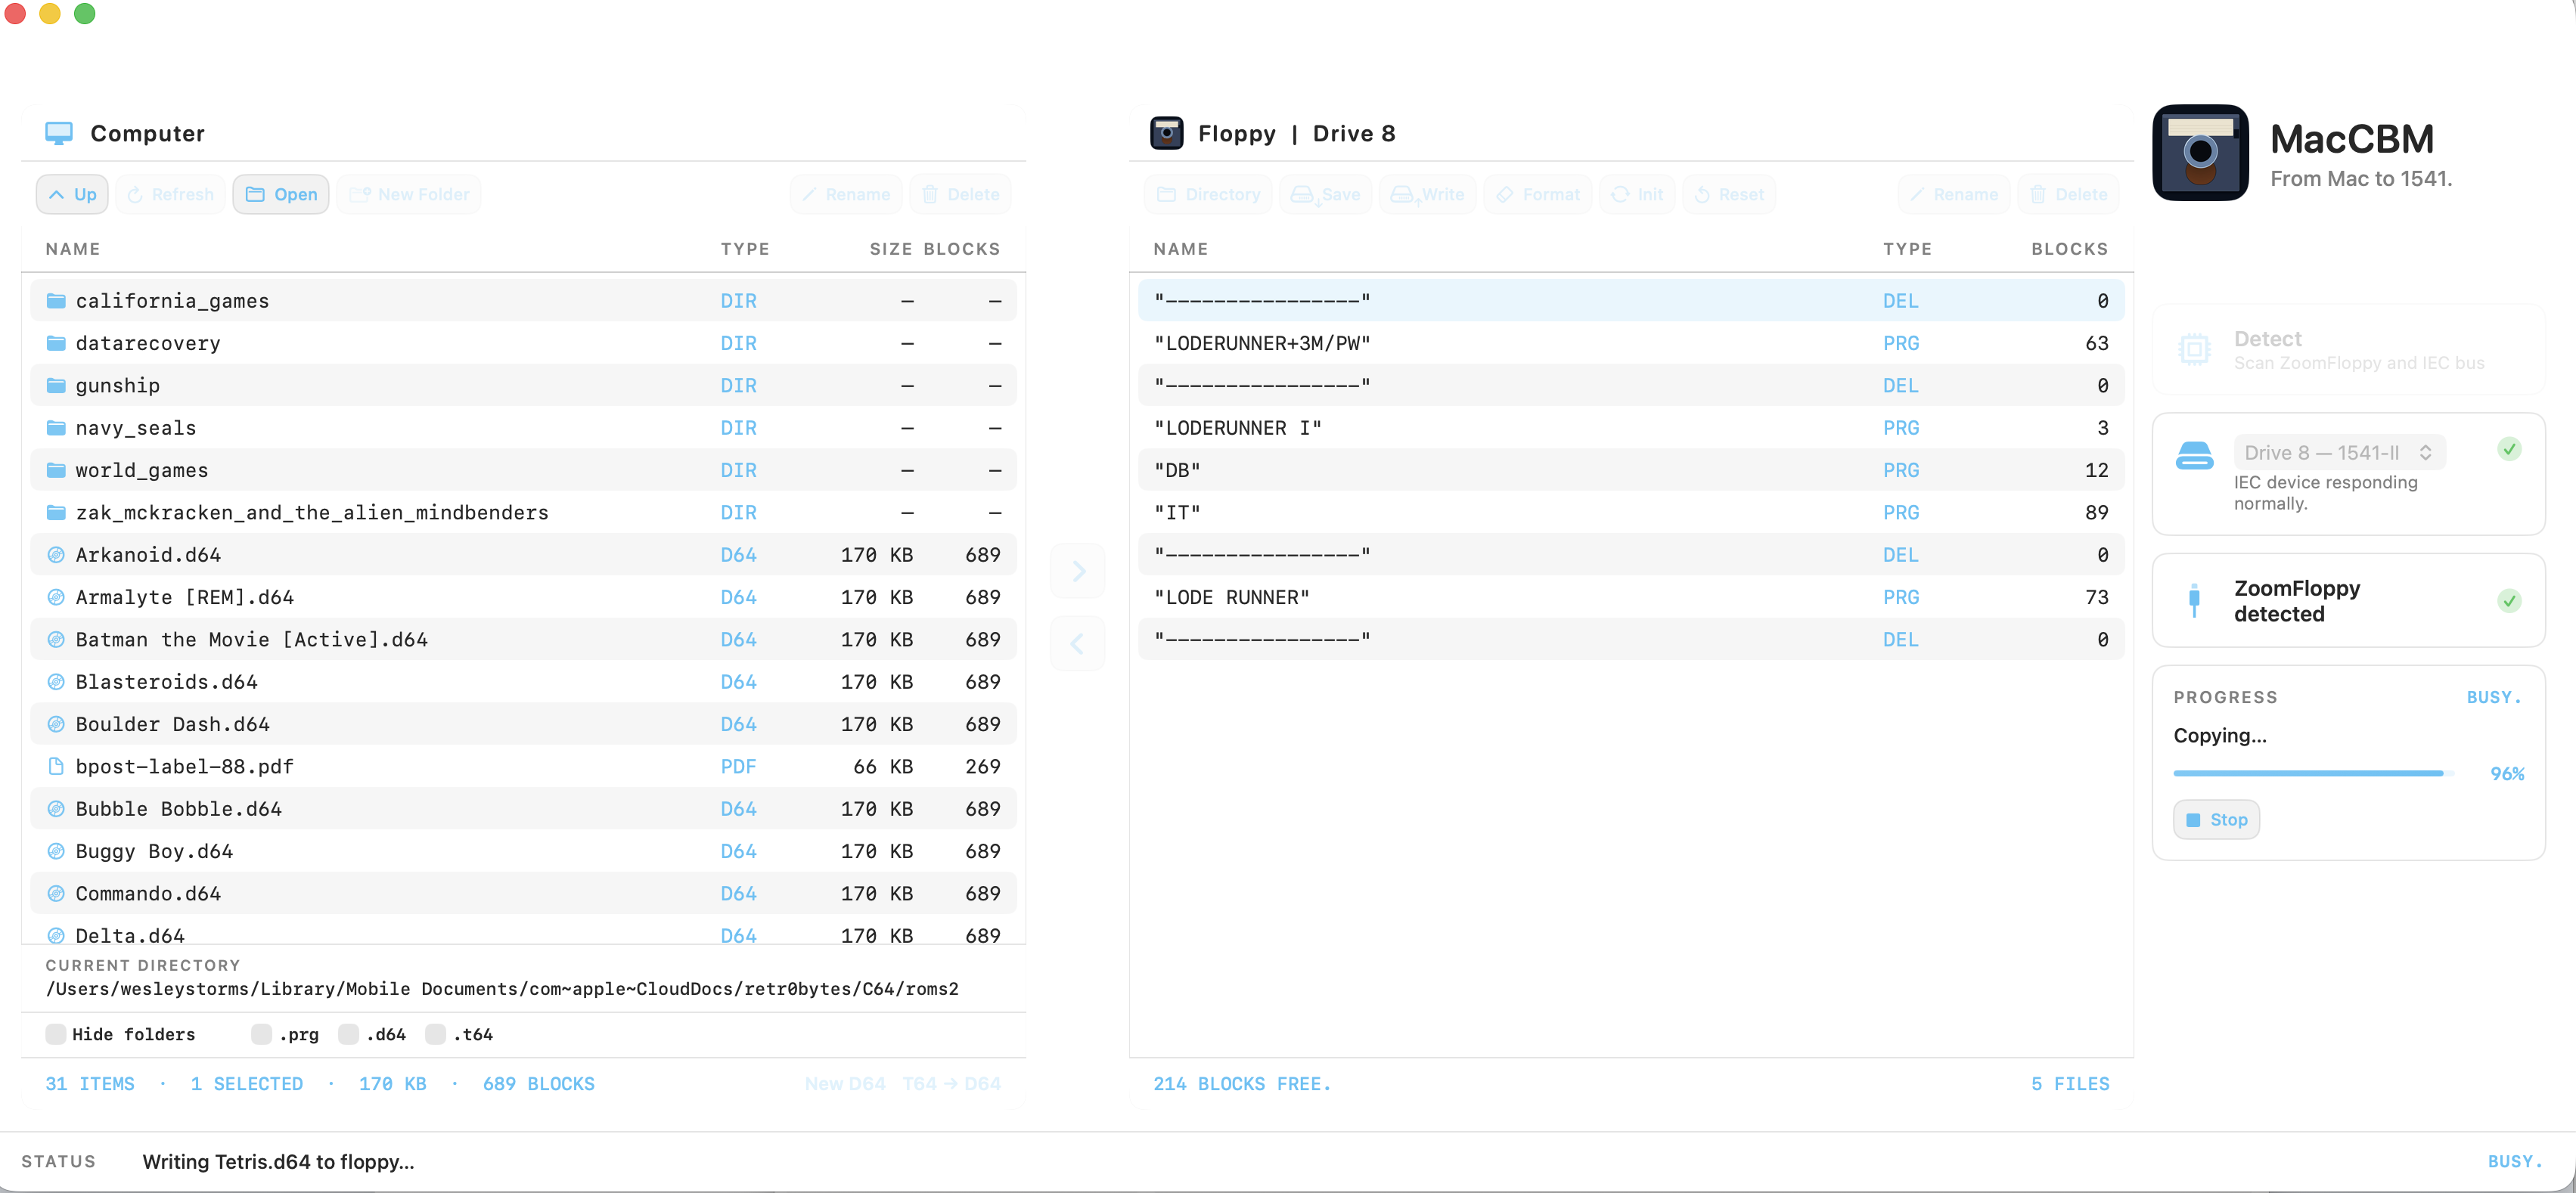
MacCBM is a native macOS GUI for OpenCBM and ZoomFloppy. Copy files between your Mac and a real Commodore 1541, save or write .d64 images, and build disks on the computer without touching the drive.
Version 1.2 beta 3 · macOS 14+ · Apple silicon and Intel · Free
Actively developed. MacCBM will continue to evolve, with support for more drives, disk formats and useful features possible in future versions.
Screenshots
MacCBM in use
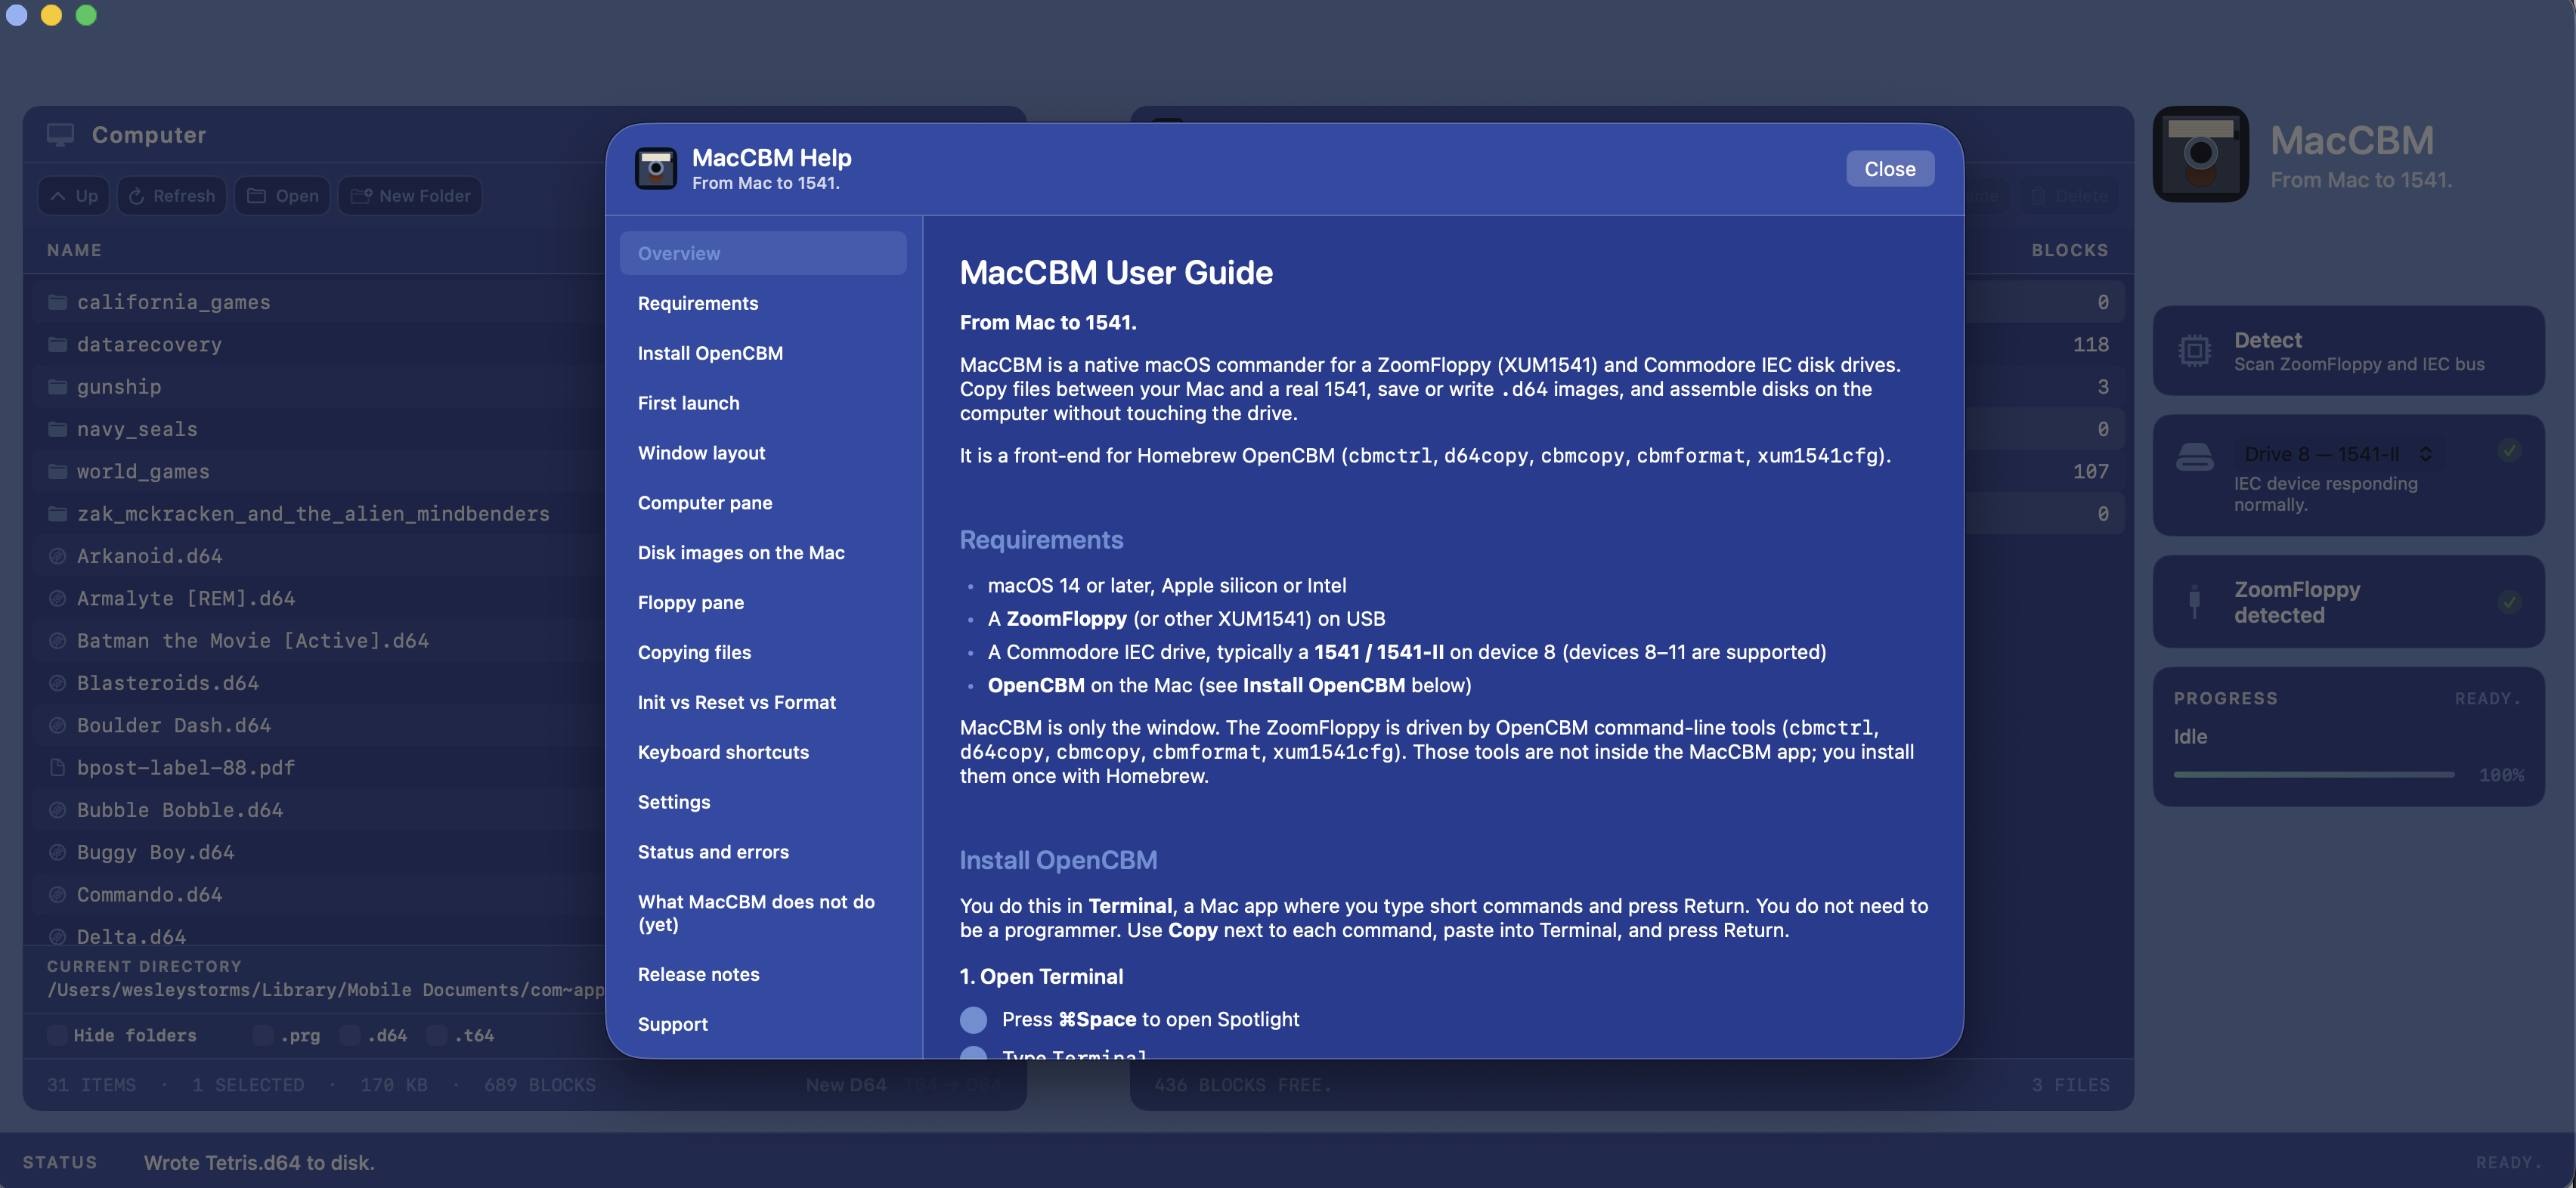
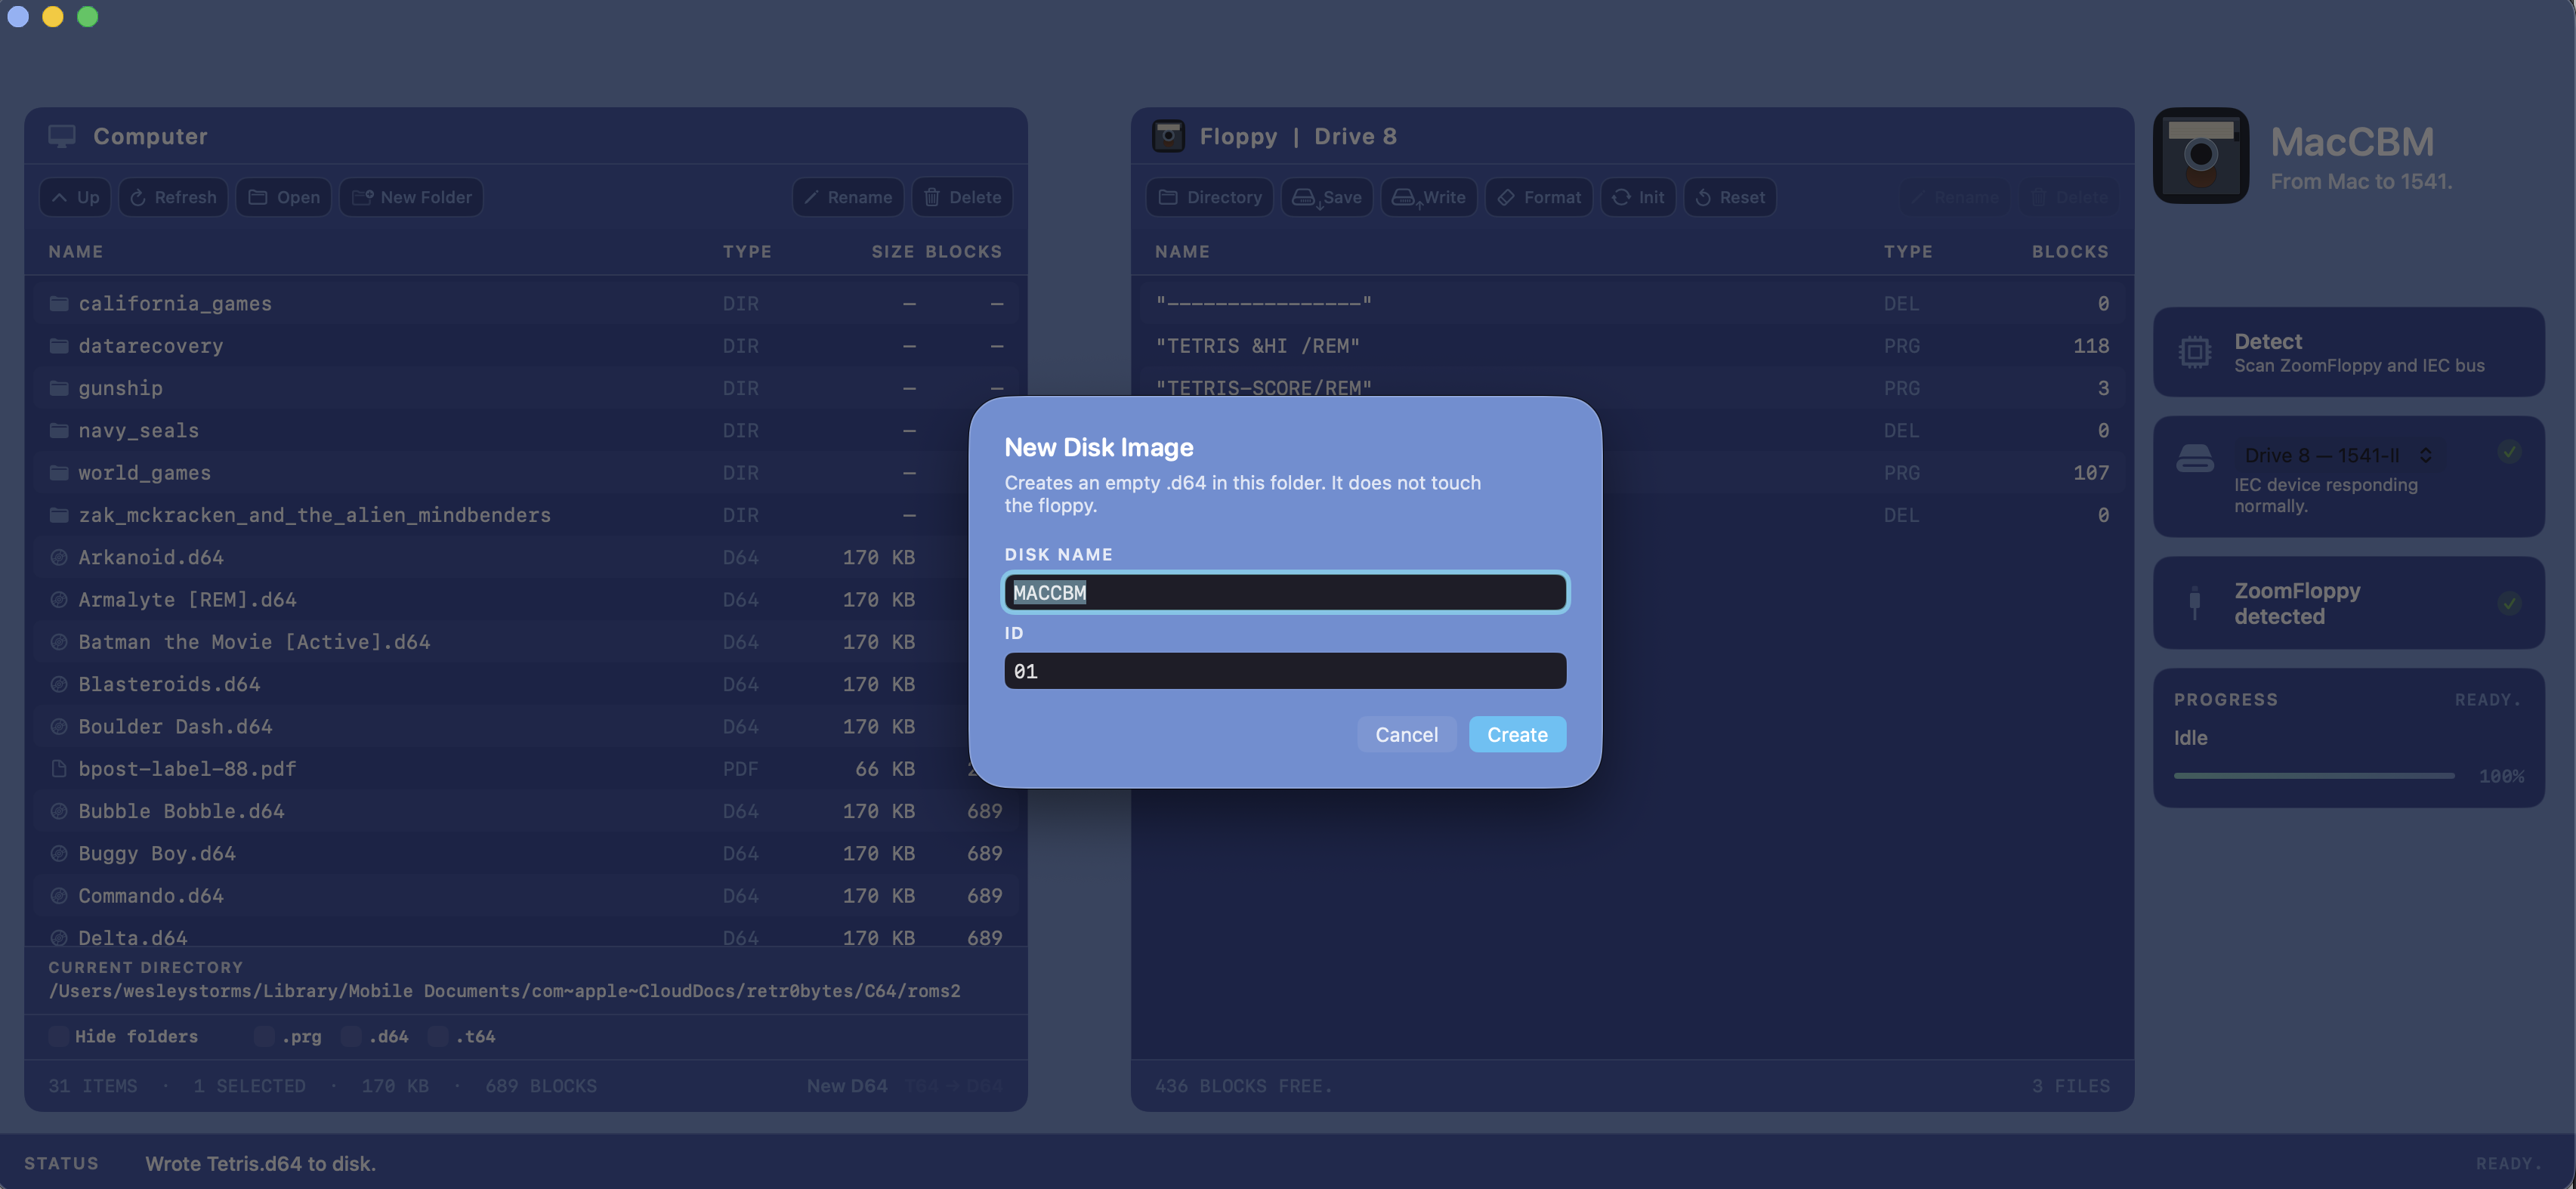
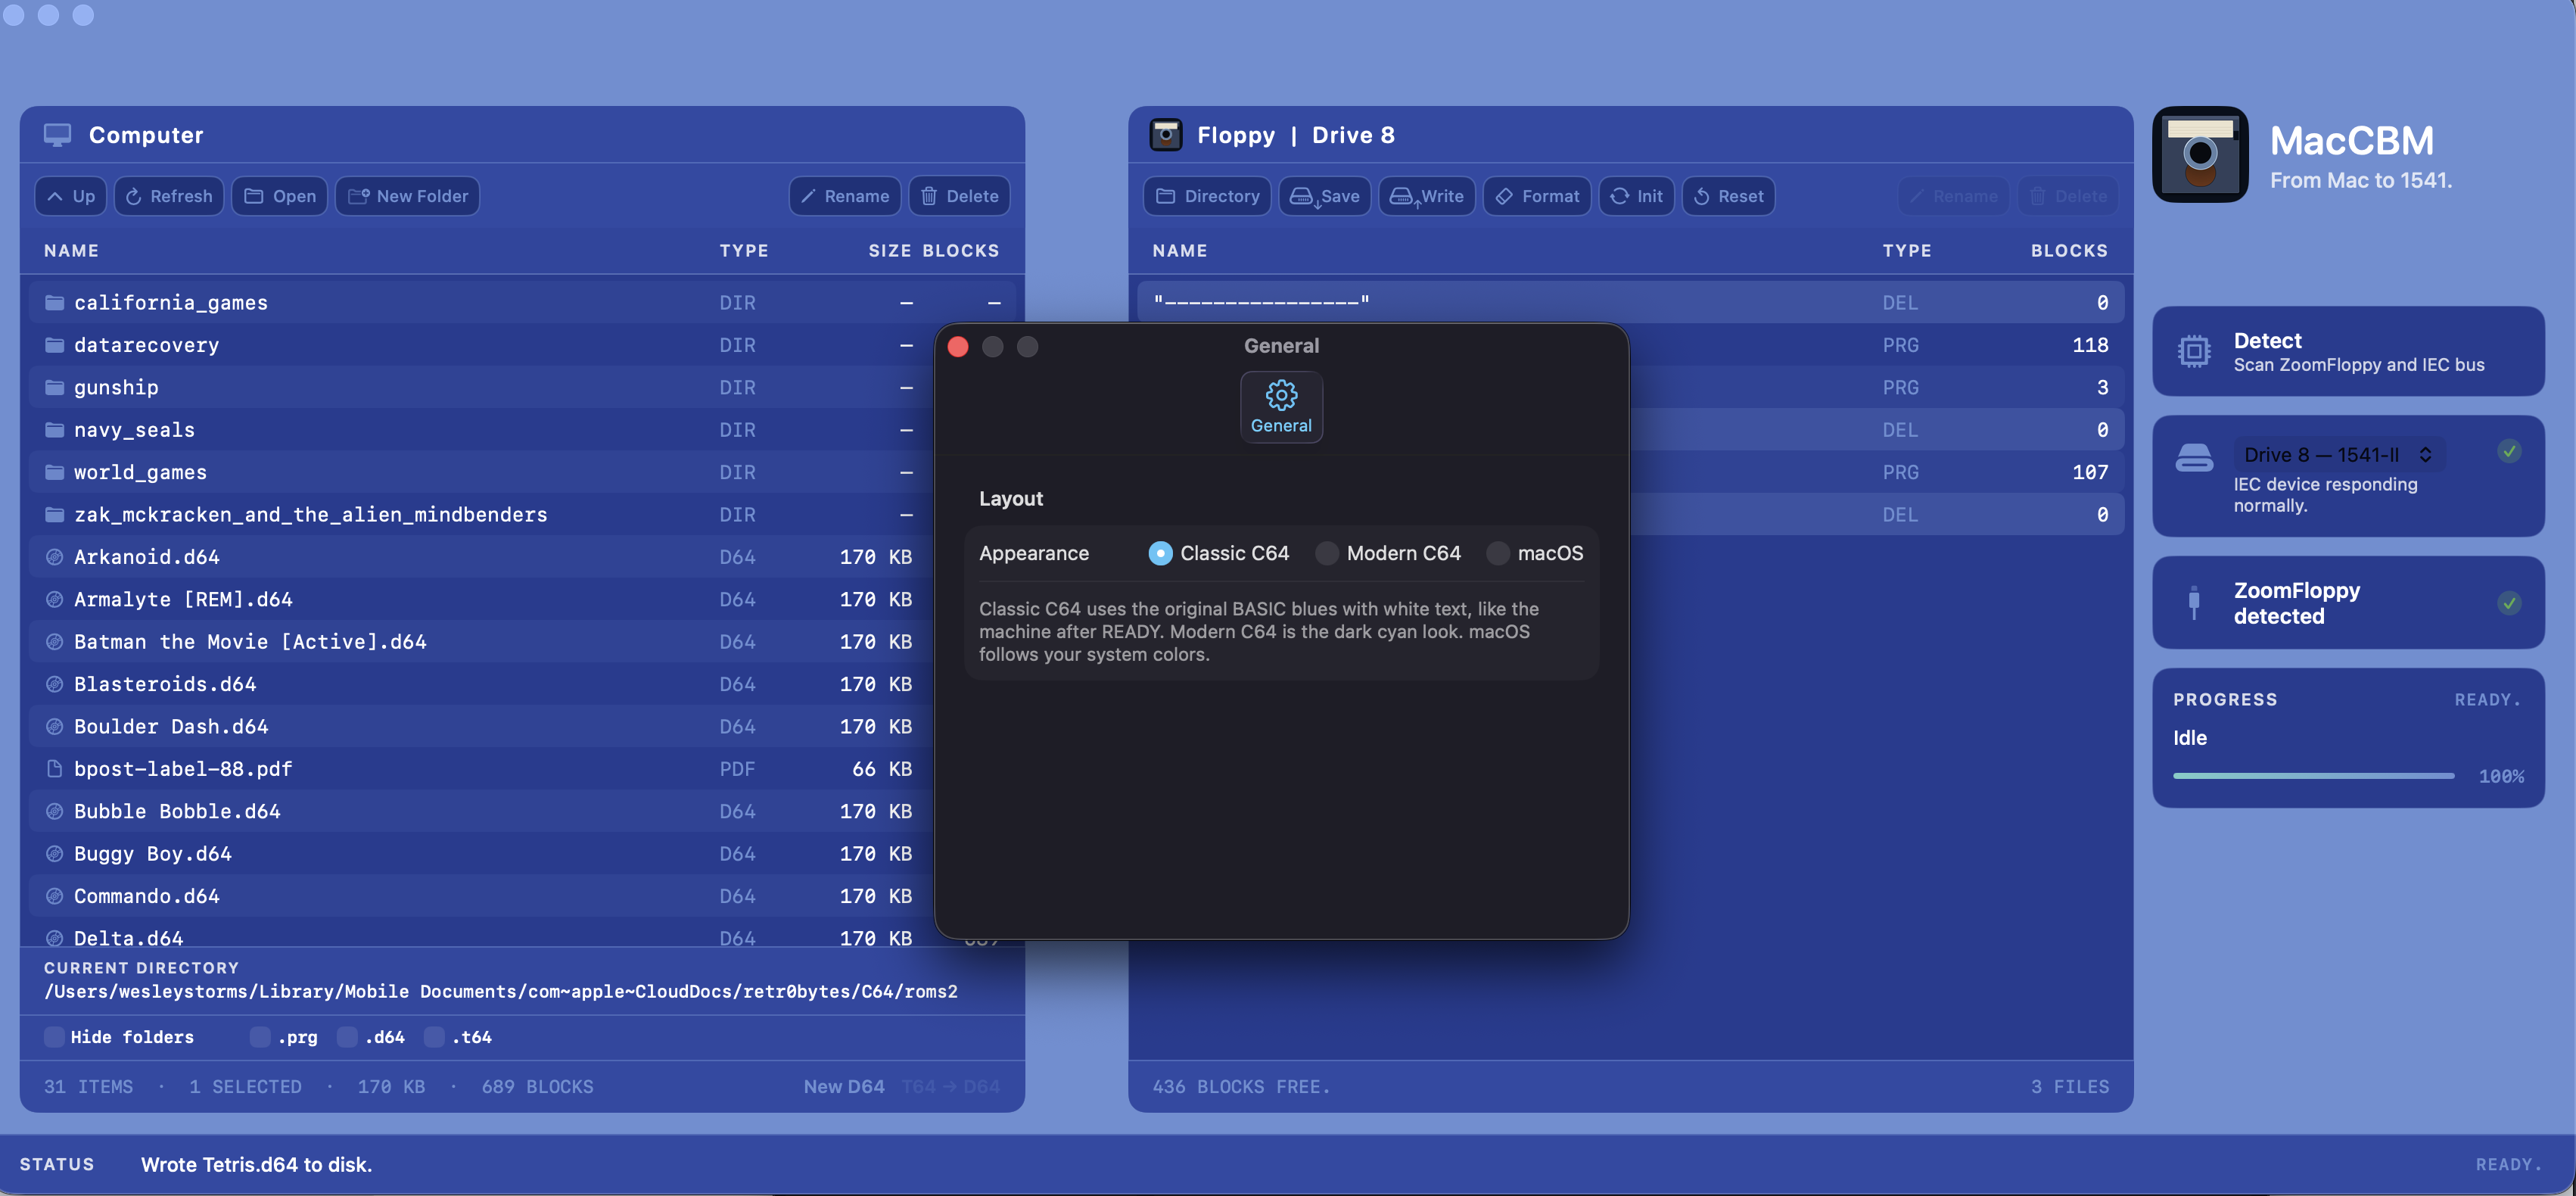
Classic C64 appearance — copying to floppyModern C64 appearance — copying to floppymacOS dark appearance — copying to floppymacOS light appearance — copying to floppyBuilt-in helpCreate a new disk imageAppearance settings
Features
What MacCBM does
MacCBM is free to download and free to use. A contribution to support further development is welcome.
Using the drive
Transfer
Dual pane: computer on the left, live floppy on the right
Copy with the arrows or drag and drop, both ways
Drag files straight from Finder into the app
Drop a .d64 or .t64 onto the drive: copy programs, or write the whole image
Free-space check so a full disk is refused instead of failing silently
PETSCII-safe names so the C64 directory shows A–Z, not graphics
Real 1541
Detect ZoomFloppy / XUM1541 and drives 8–11
Read directory, save as .d64, write a .d64 to floppy
Format (NAME,ID), optional 40-track
Init = DOS I0 after swapping a disk — not a format
Bus reset when the IEC bus is stuck
Rename and scratch files, always with confirmation
On the Mac
Disk images
Open a .d64 or .t64 as a folder
Create an empty 35-track .d64
Add .prg, .seq, .usr, .p00, or .t64 into a D64
Extract files from D64 / T64
Convert T64 → D64
Delete files from a D64 (permanent; blocks are freed)
Computer pane
Finder-style browse, filters for .prg / .d64 / .t64
Multi-select: click, ⌘-click, ⇧-click, ⌘A
New folder, rename, move to Trash
Columns: name, type, size, 1541 blocks
Footer: files, selection, KB, blocks
The app
Mac app
Three appearances: Classic C64, Modern C64, macOS
Built-in help
Notification when a long save, write, or format finishes
Report a bug or suggest a feature from Help
Apple silicon and Intel, macOS 14+
Needs
ZoomFloppy (XUM1541)
Commodore IEC drive (1541 / 1541-II)
OpenCBM via Homebrew: brew install opencbm
MacCBM uses the command-line tools from OpenCBM by Spiro Trikaliotis. The app does not bundle or modify OpenCBM.
FAQ
OpenCBM on a Mac
Short answers if you want an OpenCBM GUI on macOS, with ZoomFloppy and a real 1541.
What is MacCBM?
MacCBM is a native macOS GUI for OpenCBM. It copies files and D64 disk images between a Mac and a real Commodore 1541 or 1541-II, using a ZoomFloppy or XUM1541 adapter.
Is there an OpenCBM GUI for macOS?
Yes. MacCBM is a free OpenCBM GUI built for Mac. It is a native macOS app, not a Windows program and not a command-line wrapper in a Terminal window.
What does MacCBM need?
macOS 14 or later, Apple silicon or Intel, a ZoomFloppy or XUM1541, and a 1541 or 1541-II. Install OpenCBM first:
brew install opencbm
How does it relate to OpenCBM?
MacCBM does not replace OpenCBM. It uses OpenCBM’s command-line tools and adds a dual-pane Mac interface for transfers, directories, format and disk images.
Is MacCBM free?
Yes. MacCBM is free to download and free to use. A voluntary contribution is welcome if you want to support further development.
Install
How to install
When you are ready to set it up, open the guide below. Install OpenCBM first, then MacCBM.
Show the install steps
1. Open Terminal
Press ⌘Space to open Spotlight.
Type Terminal and press Return.
A window with a % or $ is Terminal. Leave it open. Finder path: Applications → Utilities → Terminal.
2. See if Homebrew is already there
Homebrew is a free installer for Mac command-line tools.
brew --version
If Terminal prints a version (for example Homebrew 4.x), skip to step 4. If it says command not found: brew, install Homebrew first.
Intel (About This Mac shows a Processor such as Core i5 / i7). Homebrew is in /usr/local. That folder is often already on PATH, so Intel Macs frequently never see Next steps and brew works immediately. If it does not:
Wait until it finishes. The last lines should not show an error.
5. Check that the tools are there
cbmctrl --help
You should see help text, not command not found.
6. Install MacCBM
Download MacCBM with the button at the top of this page.
Open the downloaded file.
Drag MacCBM to your Applications folder.
If macOS blocks the first launch, open System Settings → Privacy & Security and allow MacCBM.
macOS 14 or later, Apple silicon or Intel.
7. Open MacCBM and Detect
Plug the ZoomFloppy into USB.
Power the 1541 and connect the IEC cable.
Open MacCBM.
Click Detect (⌘D).
The right-hand column should show ZoomFloppy detected and a drive on 8–11.
If a command is not found
brew: command not found — run the two PATH lines in step 3 for your Mac (Apple silicon = /opt/homebrew, Intel = /usr/local), or quit Terminal completely and open it again, then retry brew --version.
cbmctrl: command not found — run brew install opencbm again and read the last lines.
ZoomFloppy not found in MacCBM — try another USB port, unplug and replug, power the drive, then Detect again.
You only install Homebrew and OpenCBM once. Later you can update OpenCBM with: